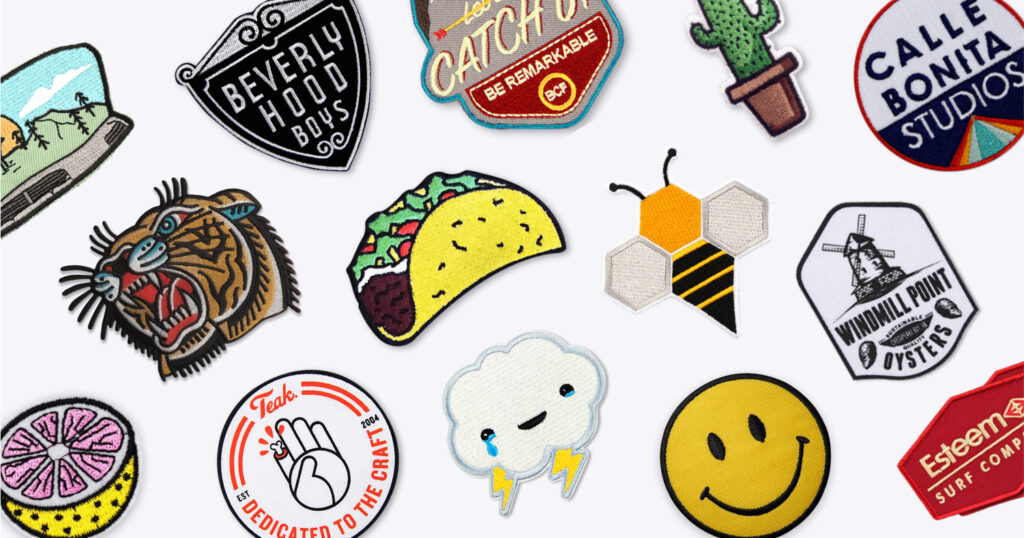
Custom-made patches look amazing because they tell everybody how you are repping your favorite motorcycle club, scouting organization, or any business you own. The little details on these patches speak volumes. The design embroidered on your custom patch really trips you up. If you are into this and want to design your own custom patch, then you can read about the best practices and tips that you can follow to come up with the best design. Keep reading this blog, and you will know!
Sizing:
The sizing of the patches is one of the most important aspects that you have to take care of. This is because if you are going for a patch meant to be attached to jackets or backpacks, a large patch will work for it. Smaller patches are ideal for small items like a brim of a hat. As you know that you can’t just attach a little patch to a big backpack.
When choosing the images, make sure they are recognizable and read. Depending on the size of the patch, you can add many intricate details that will make it look graceful. Since we know that large patches have a lot of room for complex design elements, you need to focus on the primary image whenever you are going for a small patch. The best thing you can do as a beginner is keep things simple.
Important Design Details:
The embroidery percentage is the number of threads that will be used for sewing. Sewing the design on the fabric is known as twill or substrate, which is used for the background color. If the patch has a twill, it means the embroidery percentage is less than 100%. Twill is an important part of your design with a solid color. It costs very less to have a lower embroidery percentage.
In the patch design, there are two patch border options. The borders are slightly raised, and the patch surrounds it. These are ideal for simple designs that include squares, ovals, circles, and similar shapes. Complicated designs have die-cut borders, although even simple designs can use these borders. Die-cut borders are fantastic for designs that have pieces sticking out.
Embroidered patches have been using several backing options. It has a heat seal, plastic, hook and loop, self-sticking, and unbacked patches. Every option has qualities that can be considered when deciding which you have to use. Heat seal is the most popular option; the second is hook and loop. There’s an unbacked patch that is sewn on it.
Best Practices To Use:
You can choose hundreds of colors, but always remember that using more colors will make the patch look vivid. You can go for the colors of substrate or twill if the design has less than 100% embroidery on it.
Most of the patches have text, and the size of the text is very important. If you are going for small text, then the minimum recommendation is 0.25” high. You can opt for Helvetica or Arial font, which is standard for use in small text. Just FYI, the ornate fonts are difficult to see whenever you are using them with small text. Meanwhile, larger patches don’t have this design limitation, and complex fonts are easier to work with on them. Following these custom patch tips and tricks will let you pull off the best design.
Whenever picking up thread color, just keep in mind that pick the first eight colors that will fall in your budget. Moreover, use colors in contrast because colors next to each other that are similar will look blurry, but opposite colors will have a more vibrant colorway. Speaking of patches, you can get a batch of custom-embroidered patches from Paragon Patches.
Pro-tip: Use the color wheel while designing your patch to show you the best color combination.
Final Thoughts:
Designing your own custom patches with Paragon Patches is amazing. You can easily do it on your own. They look incredible on hats, backpacks, jackets, etc. You can represent your favorite club, scout organizations, or anything you support on your own without relying on them to provide you with merchandise!

